Countertop Replacement in Dayton: What Happens to the Sink and Faucet

The sink and faucet always come out when a countertop is replaced, and whether they go back in depends on how the sink is mounted, what shape the old parts are in, and who handles the plumbing. In a Dayton kitchen, hard water and older house plumbing add a few steps that are worth planning before tear-out day.
How the Sink Is Mounted Decides How It Comes Out
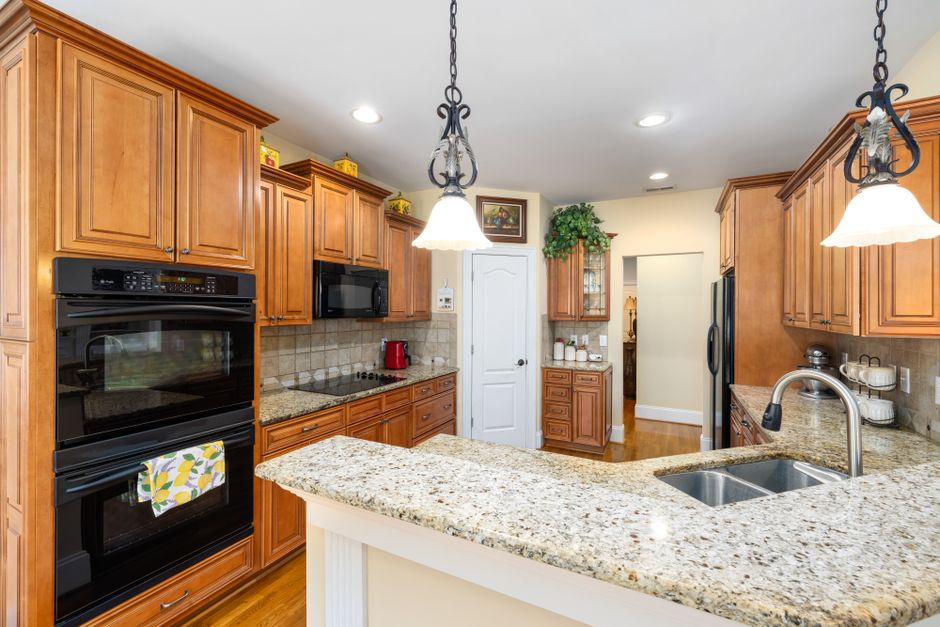
A drop-in sink rests on top of the counter. Once the caulk bead is cut and any clips underneath are loosened, it lifts out in one piece. These are the easiest sinks to save.
An undermount sink hangs below the counter on clips, epoxy, or both. It is often bonded so firmly that it leaves with the old top or has to be cut free. Porcelain-coated and fireclay sinks can chip or crack during separation. Reuse is possible, but it is not guaranteed. Ask the installer to judge the bond before you commit to keeping the sink.
Reuse or Replace: Making the Call
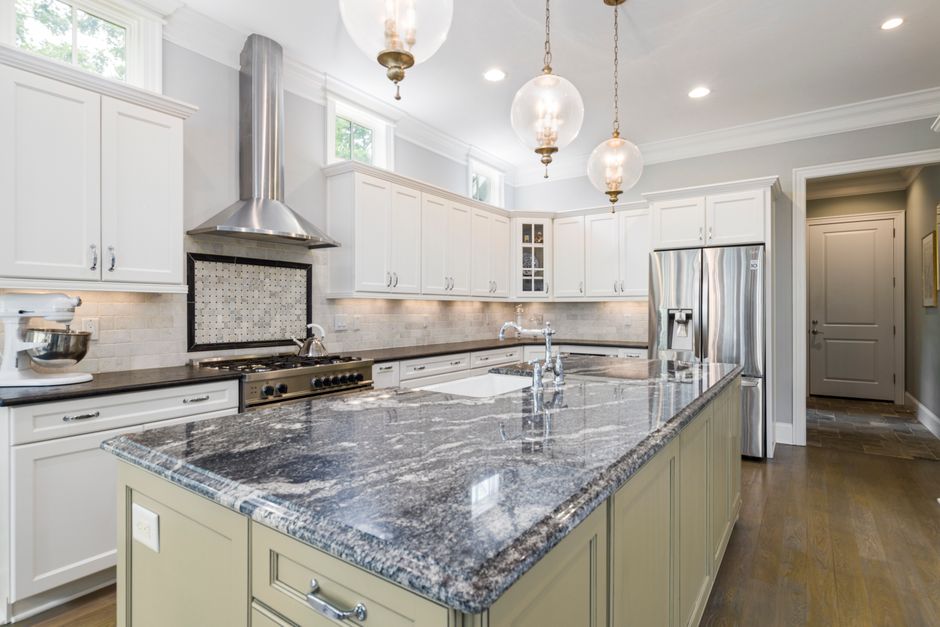
Reusing the sink makes the most sense when it is a drop-in in good shape, or when you plan to stay with a drop-in style. Replacing it makes more sense when:
- The old sink is an undermount that has to be broken free.
- The finish is scratched, stained, or worn through.
- You are moving from laminate to stone and want an undermount, which a standard laminate top does not take as readily as stone does.
- The bowl layout no longer suits how you cook and clean.
Whichever way you lean, the fabricator needs the actual sink, or its exact spec sheet, at template time. Undermount cutouts are sized to the bowl. Bring the faucet spec sheet along too.
The Reveal Is Part of the Decision
With an undermount in stone or engineered stone such as Cambria, you choose how the sink edge relates to the counter opening:
- Positive reveal: a ledge of sink rim shows.
- Negative reveal: the stone overhangs the bowl.
- Flush: the stone edge and bowl edge meet evenly.
This is settled before fabrication, not on install day. Solid surface tops from makers like Corian or Avonite are a different case, since a sink can be integrated into the material itself, so ask what your chosen material offers.
Count the Faucet Holes Before Anything Is Cut
Stone and engineered stone are drilled to order, usually in the shop. Common layouts are:
- Single hole
- Three hole centerset at 4 inches
- Three hole widespread at 8 inches
Add holes now for a soap dispenser, side sprayer, filtered water tap, instant hot dispenser, or a dishwasher air gap. Drilling a finished stone top later is doable, but it carries chip and crack risk, especially near the sink cutout.
If you are keeping a drop-in sink and switching from a three hole faucet to a single handle, a deck plate (escutcheon) covers the extra holes. On a new stone top, just have only the holes you need drilled.
Will the Old Faucet Fit the New Top?
Not always. Laminate is usually about 3/4 inch thick plus buildup, while stone is commonly 2 cm or 3 cm. Many faucets list a maximum mounting thickness, and a faucet that fit the old top may need longer shanks or a different mounting kit.
If you reuse the faucet, check it over first:
- Clean or replace the aerator.
- Look at the base for scale and corrosion.
- Test the mounting nuts. Seized nuts sometimes have to be cut off, which can tip the decision toward a new faucet.
Dayton draws from a very hard water aquifer, so scale buildup on older faucets is common.
Test the Shutoff Valves a Week Ahead
The shutoff valves under the sink are the most common surprise. Older multi-turn stop valves in Miami Valley homes often scale up, refuse to close fully, or start weeping at the packing nut once they are turned.
Test them a week before the work, not on install day. If a valve fails, have it replaced with a quarter-turn stop before the crew arrives. A countertop swap with water that cannot be shut off is a stalled job.
Plan on New Supply Lines
Hard water leaves mineral crust on compression nuts and inside old lines. Fresh braided stainless supply lines are cheap insurance. Measure first, because a thicker top and a new sink position can change the length you need.
Drain, Disposal, and Dishwasher Adjustments
Drain parts. An undermount sits at a different height than a drop-in, so the tailpiece, P-trap, and sometimes the trap arm may need trimming or extending. Keep the trap arm sloping toward the wall so it does not hold standing water.
Garbage disposal. It is usually disconnected at the mounting ring. On a new sink, the mounting assembly may need replacing to match the sink flange and the new counter thickness.
Dishwasher. Many dishwashers are screwed into the underside of the old countertop. Stone usually cannot take those screws, so side-mount brackets fastened to the cabinets are typical. After reconnection, confirm the drain hose keeps a high loop or connects to an air gap.
Drain flange sealant. Standard plumber's putty can leave an oily ring on granite, marble, and similar porous stone. Use a stone-safe putty or a suitable silicone sealant instead.
Older Dayton Houses Need a Closer Look
Prewar and mid-century homes in neighborhoods like Oakwood, Belmont, and the older parts of Kettering may still have galvanized steel drain or supply pipe. It can crack or start leaking when disturbed. Have someone look at the pipe behind the trap before work starts, and keep a plumber on call.
Sinks under windows on exterior walls are also common in the local housing stock. If insulation behind the sink base was disturbed during tear-out, have it put back before the cabinet is reloaded. Supply lines on cold walls can freeze in a hard January.
Who Actually Reconnects the Plumbing?
Many countertop installers remove and set the sink but will not reconnect supplies, drains, disposals, or dishwashers. Ask directly who disconnects and who reconnects. You may need to book a plumber, and the timing has to line up with the install so the kitchen is not left without water longer than necessary.
Let the Cabinet Do Its Part
With the old top off, the sink base is exposed. Check it for:
- Soft or swollen cabinet floors
- Old leak stains
- Mold
- Front or back rails cut to fit a larger undermount bowl
A kitchen cabinet has to be sound enough to carry the weight of a stone top. Cast iron and large fireclay undermount sinks can also exceed what clips and epoxy alone should carry long term, so ask about support rails or brackets resting on the cabinet frame.
If the kitchen includes an island with a second sink, the same checks apply there.
Butcher Block Needs Extra Care
Wood tops are a higher-risk home for sinks. End grain wicks water and swells, so every cut edge of the sink and faucet holes must be sealed thoroughly. Undermount sinks in butcher block are the riskiest pairing.
Cutting Happens in the Shop, Not the Kitchen
Most sink cutouts and faucet holes are done wet in the fabrication shop. If any cutting or enlarging has to happen on site, it should be done wet with dust control. Engineered stone releases crystalline silica dust (silicon dioxide), which causes silicosis, so keep family and pets out of the area.
The Days After Install
Expect the kitchen sink to be out of service for a while. The undermount adhesive needs time to cure before the sink takes water weight or a disposal's vibration. Installers commonly ask you to wait, often overnight. Plan dishes and cooking around that gap.
Once everything is reconnected, test it properly:
- Run hot and cold water at full flow.
- Fill each bowl and release it all at once to load the drain.
- Run the disposal and a dishwasher cycle.
- Wipe every joint with a dry paper towel.
- Check again the next day, since slow drips show up late.
The joint between sink and counter is sealed with mildew-resistant pure silicone, not grout. Treat it as a maintenance item. Inspect it periodically and recaulk when it pulls away or darkens.
Keep the Paperwork
Hold onto the old faucet and sink model numbers until the job is signed off. They make it far easier to source replacement cartridges, mounting kits, or correct drain parts if something does not fit on install day.